More time for your plants: smart plugs, sensors and watering
Smart plugs, automations and energy history. Order a 499 RUB soil sensor, a 1,999 RUB pump or a 2,499 RUB watering kit separately or with a kit.
A step-by-step path from a USB coordinator and Zigbee2MQTT installation to pairing, compatibility checks, mesh coverage, and GrowerHub connection.
Smart plugs, automations and energy history. Order a 499 RUB soil sensor, a 1,999 RUB pump or a 2,499 RUB watering kit separately or with a kit.
A step-by-step Zigbee2MQTT setup for Windows: USB coordinator, COM port, Z-Stack or Ember, GrowerHub configuration, startup and troubleshooting.
Connect PushOk to GrowerHub over the internet using its ID and pairing button. Compare it with Zigbee2MQTT, SMHUB Nano and ZS-EHT, including hardware checks.
Troubleshoot a missing Zigbee sensor: permit join, interview errors, model support, power and debug logs. Check the failure without resetting the whole mesh.
Pair a Zigbee temperature and humidity sensor: Permit join, model-specific reset, interview, fresh readings and troubleshooting missing data.
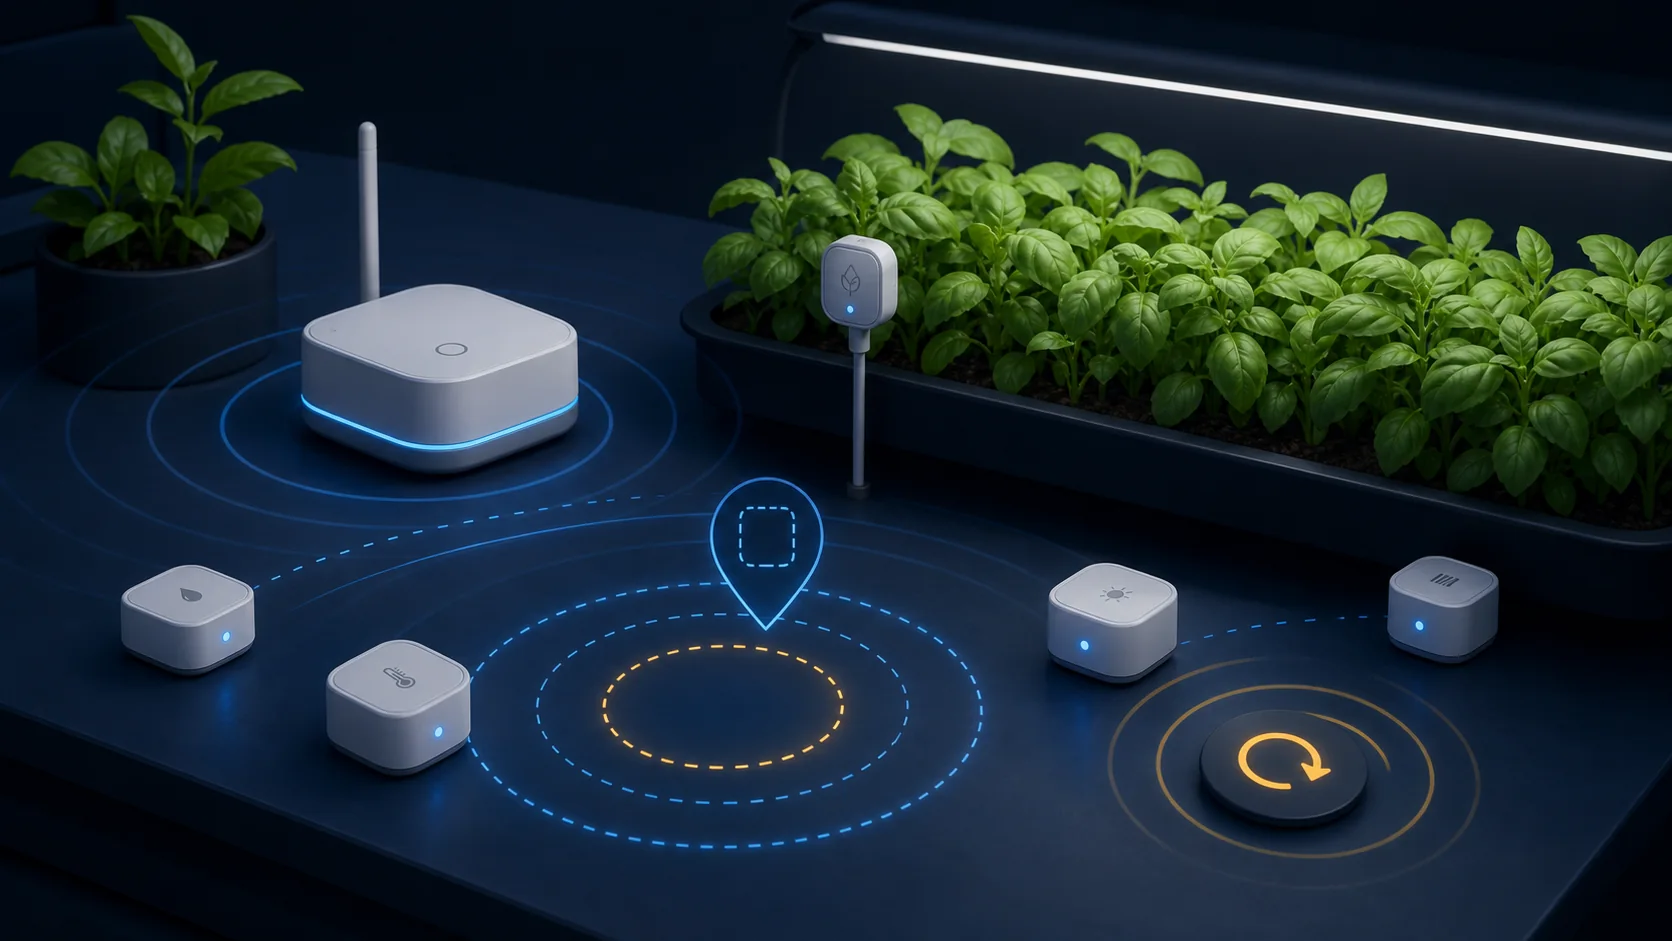
The roles Zigbee devices play and why coordinators, routers, battery sensors and actuators matter in a reliable greenhouse.
How to check the compatibility of a Zigbee device in Zigbee2MQTT: what fields it sends, what commands it accepts and how to control availability.
Where to install the Zigbee leakage sensor, how to connect it with the emergency stop of the pump and why it is a basic element of safe automatic watering.
Practical selection of Zigbee devices for the greenhouse: microclimate, leakage, sockets, relays, network coverage, compatibility and testing before automation.
Comparison of Zigbee and Wi-Fi sensors for plants: autonomy, network, latency, locality, cost and ease of maintenance.
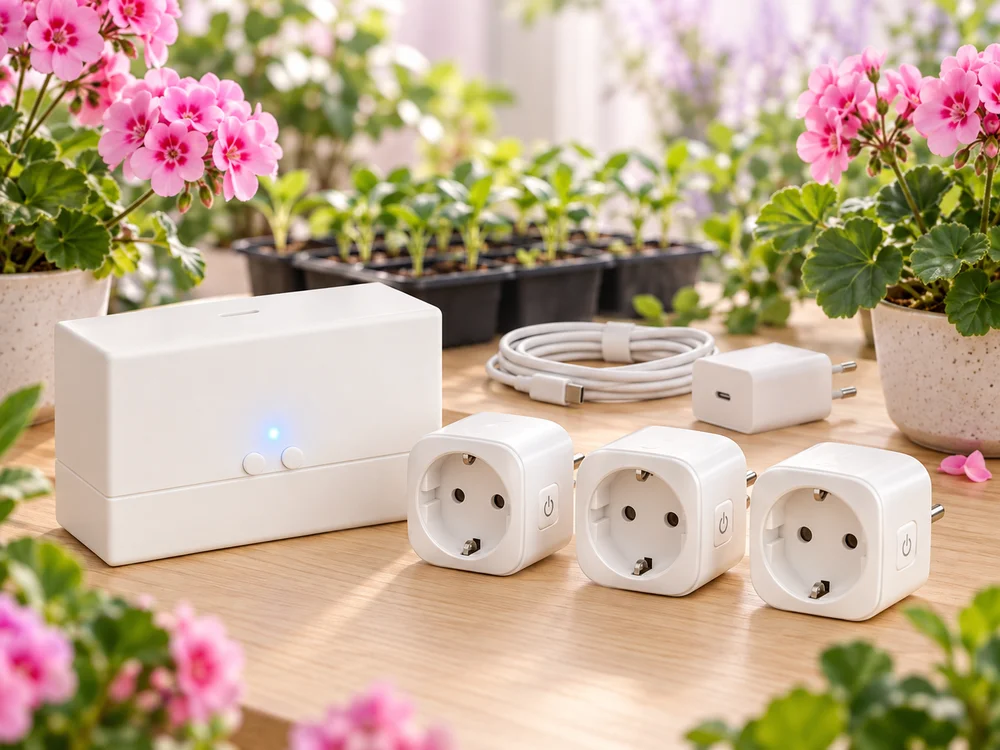
When Zigbee socket is suitable for lamp, fan or pump, which loads are dangerous and what to check before automation.
Understand Zigbee2MQTT, coordinators and MQTT brokers. A practical first-sensor checklist, with Home Assistant and GrowerHub dashboard examples.
A minimum set of sensors for a greenhouse and automatic watering: microclimate, soil moisture, leakage, water consumption, light and communication diagnostics.
A first Zigbee setup needs an always-on computer or Raspberry Pi, a coordinator with suitable firmware, and one device. Brand alone does not establish compatibility: check the exact model, Zigbee2MQTT support, and exposed capabilities.
Learn what the coordinator, routers, end devices, MQTT topics, and availability each do.
An always-on Windows computer and a USB stick with coordinator firmware are enough for a first setup.
Pair near the coordinator and verify exposes, updates, and availability before moving the sensor.
| Situation | Where to start | Why |
|---|---|---|
| You are creating a network from scratch | A Z-Stack or Ember USB coordinator and one sensor | This separates basic Zigbee2MQTT setup from later mesh coverage issues. |
| A previously working device disappeared | Power, last_seen, availability, and logs | Removing and re-pairing too early can hide the original fault and create a new entity. |
| You are choosing a sensor or smart plug | The exact model ID in the Zigbee2MQTT catalog | Identical enclosures may expose different measurements and commands. |
Create a GrowerHub connection, use the provided MQTT configuration, and view discovered device metrics in one dashboard.