Try it without equipment
Open a prepared demo farm with charts, watering and scenarios. No registration is required.
At your pace, with our help
Explore an example without buying anything, or choose equipment for lighting, watering and ventilation. We will help you get connected to GrowerHub.
There is nothing to buy or connect. The demo already has plants and virtual devices, ready to explore and try.
Open the demo farmStart with one appliance or several zones. Add a soil sensor or pump if you need one — we will help you choose and connect it.
Choose a kitWe will prepare what we can before shipping. At home you will need a phone, home Wi-Fi with internet access and a little time to get familiar with the setup.
Power up PushOk and open the Upravlyator app on your phone. It will guide you through selecting your home network and entering its password.
We will discuss pairing the plugs when preparing the kit. At home we will check that they appear in Upravlyator and help pair them if needed.
Sign in to GrowerHub, open Connections and add PushOk using its ID. Press the button on the hub to allow access — we will explain when.
Assign a plug to a light, watering pump or fan. We will choose a scenario and check it together. You can then adjust the settings yourself.
Control through PushOk needs internet access: without a connection, new GrowerHub commands will not reach the device. We will discuss appliance loads, watering connections and suitable scenarios before the first setup.
You do not need to learn everything at once. Tell us about your plants and hardware, and we will choose a first step together.
Additional connection options and detailed instructions. Keep using your own hardware — you do not need to buy a new kit.
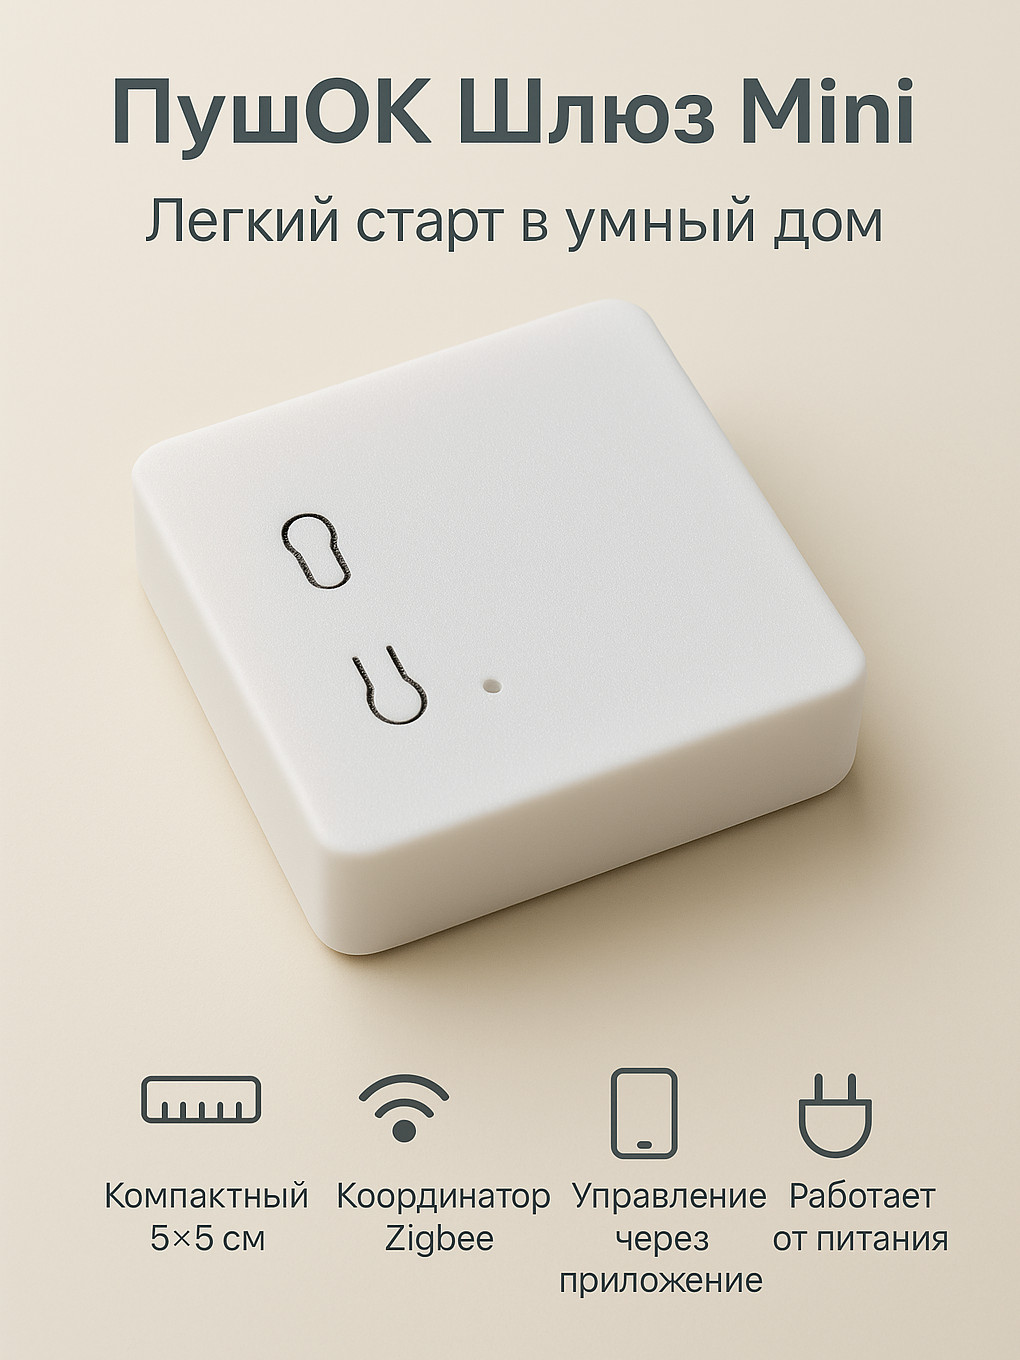
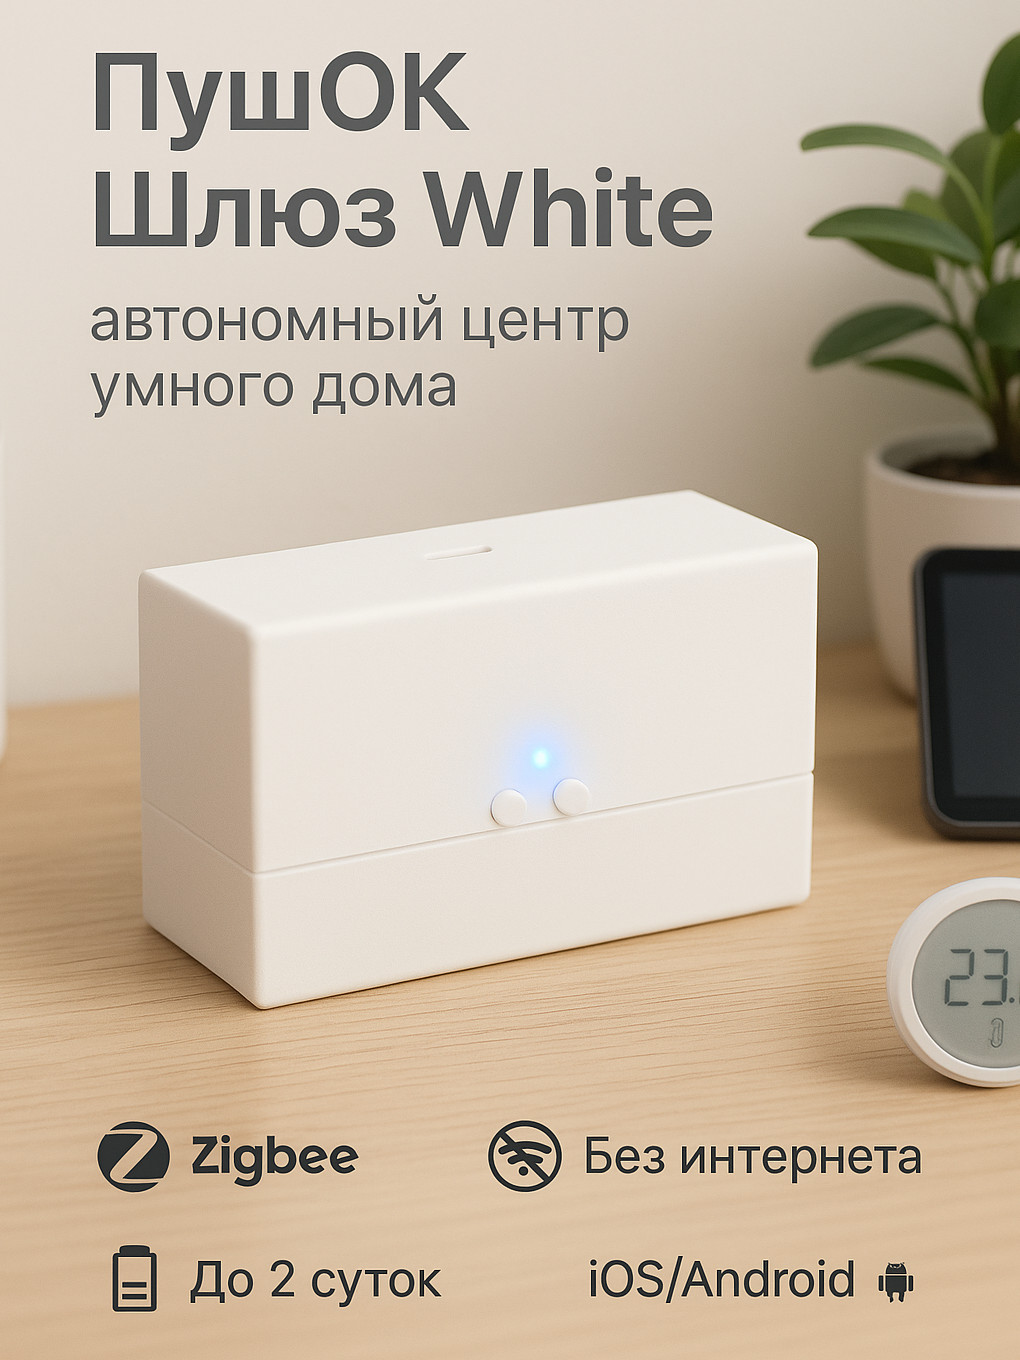
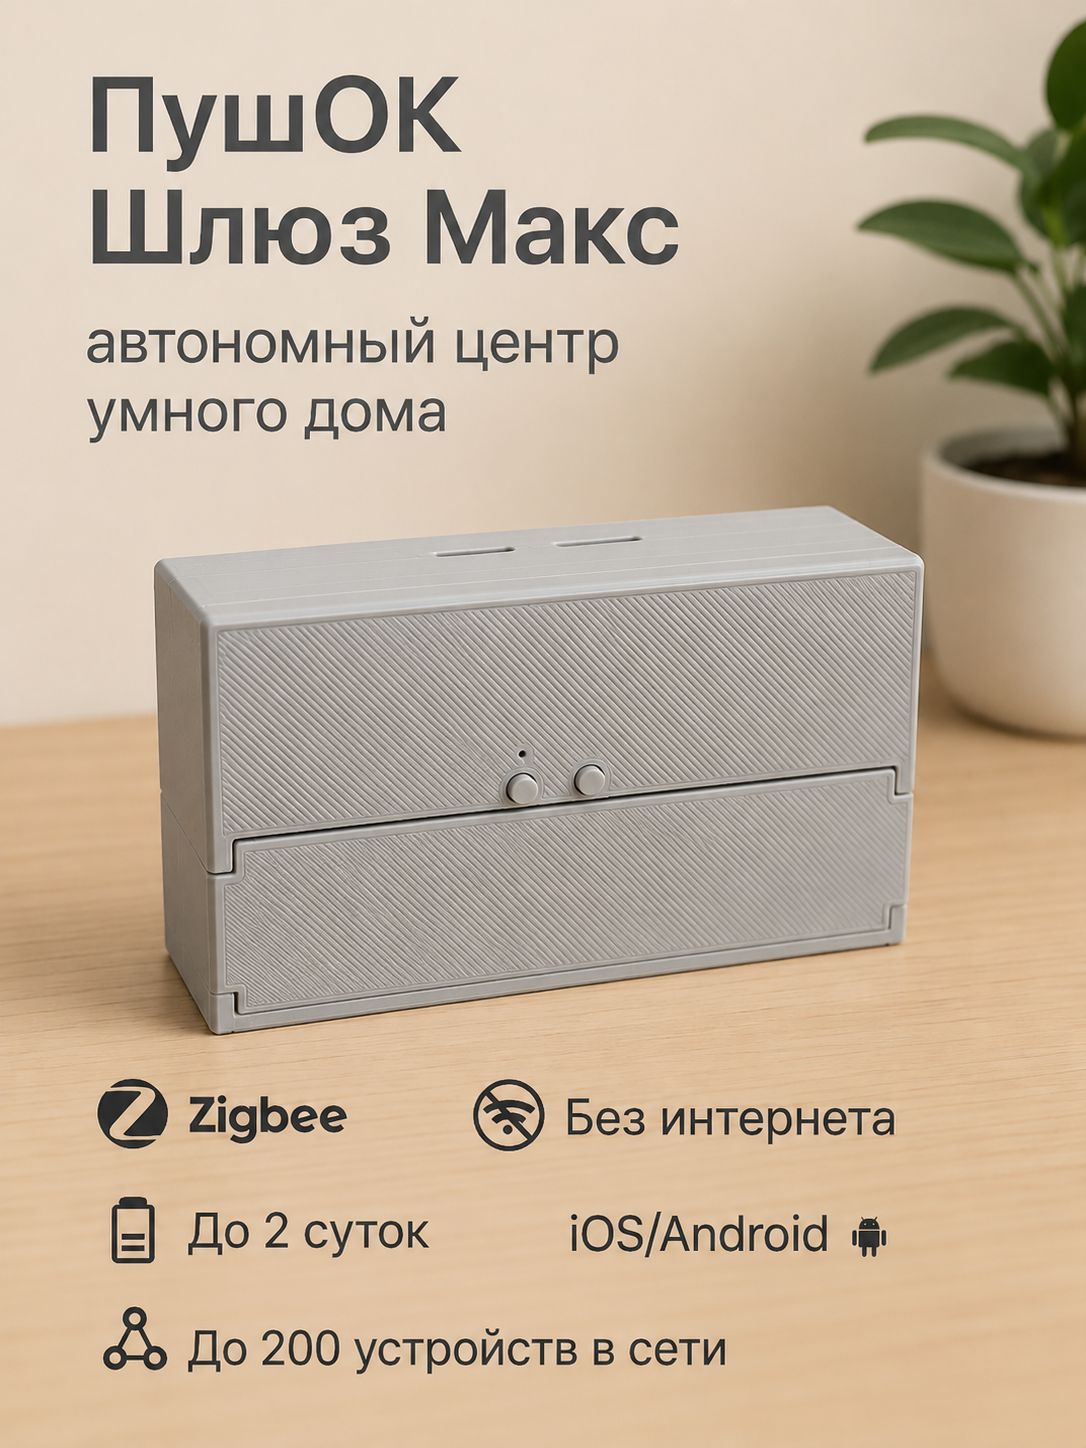
Product images supplied by the manufacturer. Cases may vary between revisions; find the exact model on its label or in the Upravlyator app. Source: PushOk
Connect PushOk to GrowerHub over the internet. You need a hub already set up in Upravlyator, its ID and two short pairing-button presses. No separate computer, Home Assistant or MQTT setup is needed.
The pilot is available in the app. Cloud pairing, readings, on/off control and reconnection were verified on POK100v2 with firmware 95 and a Zbeacon TS011F plug. Other hubs, sensors and functions need separate checks; we do not claim support for every Zigbee device.
Already own PushOk? Start with one device and tell us what is missing. For another model or setup help, use “PushOk help and my request” in connection settings. No Wi-Fi password or key export from your phone is needed.
Connectivity depends on the internet and PushOk’s cloud. GrowerHub automations run on its server and do not run locally on the hub when disconnected. This plug is not approved for automatic watering. If you have no equipment yet, discuss the exact model and intended use first. This is a GrowerHub integration; no manufacturer partnership is claimed.
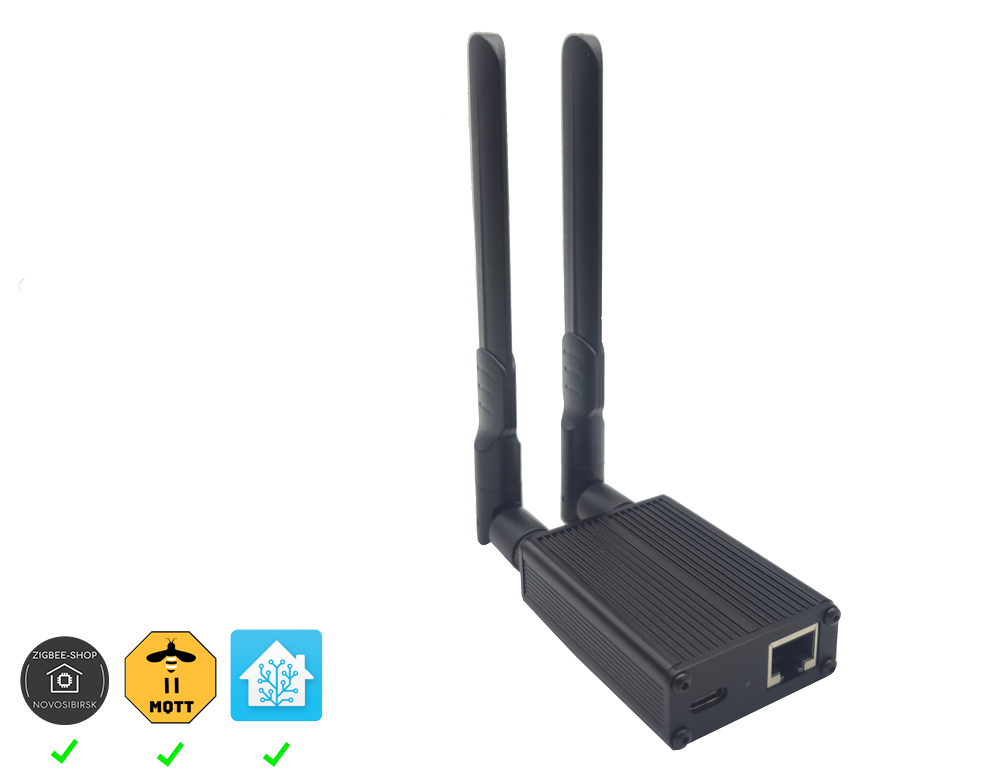
The seller uses the same image for 54P2 and 54P7. Check the label for the exact revision and chip; the case alone does not identify it. Source: ZigBee-Shop
An inexpensive option if you already have a computer for Zigbee2MQTT and want the radio closer to your plants. Its documentation makes it a candidate for GrowerHub's existing Zigbee2MQTT path. We have not tested a physical unit with GrowerHub.
An always-on computer running Zigbee2MQTT is required. The coordinator and an MQTT server address alone are not enough; Home Assistant is optional.
Start the pilot with a coordinator on your home network and one sensor. We will check fresh readings, history and recovery after a restart. If Zigbee2MQTT already serves your setup, first discuss a local bridge that preserves your network.
Already own ZS-EHT? Join a trial connection. If not, discuss the complete kit first: this coordinator does not replace the computer. This is a GrowerHub initiative, without a claimed partnership with the seller.
Always-on computer or Raspberry Pi, supported Zigbee coordinator and one temperature/humidity sensor.
For control, add a Zigbee smart plug. Soil sensors, leak sensors and other equipment can be connected later.
If Zigbee2MQTT and Home Assistant are already running, the local bridge will leave MQTT in place and transfer only the necessary topics to GrowerHub.
Check your hardwareOpen a prepared demo farm with charts, watering and scenarios. No registration is required.
Connect over the internet using the hub ID and pairing button. Start with one device; no separate computer is needed.
Keep your Zigbee network and local MQTT. Add the connector and verify one sensor.
Check the COM port and adapter type, download your personal configuration and start the package.
Try a connection together. A separate computer running Zigbee2MQTT is required; Home Assistant is optional.