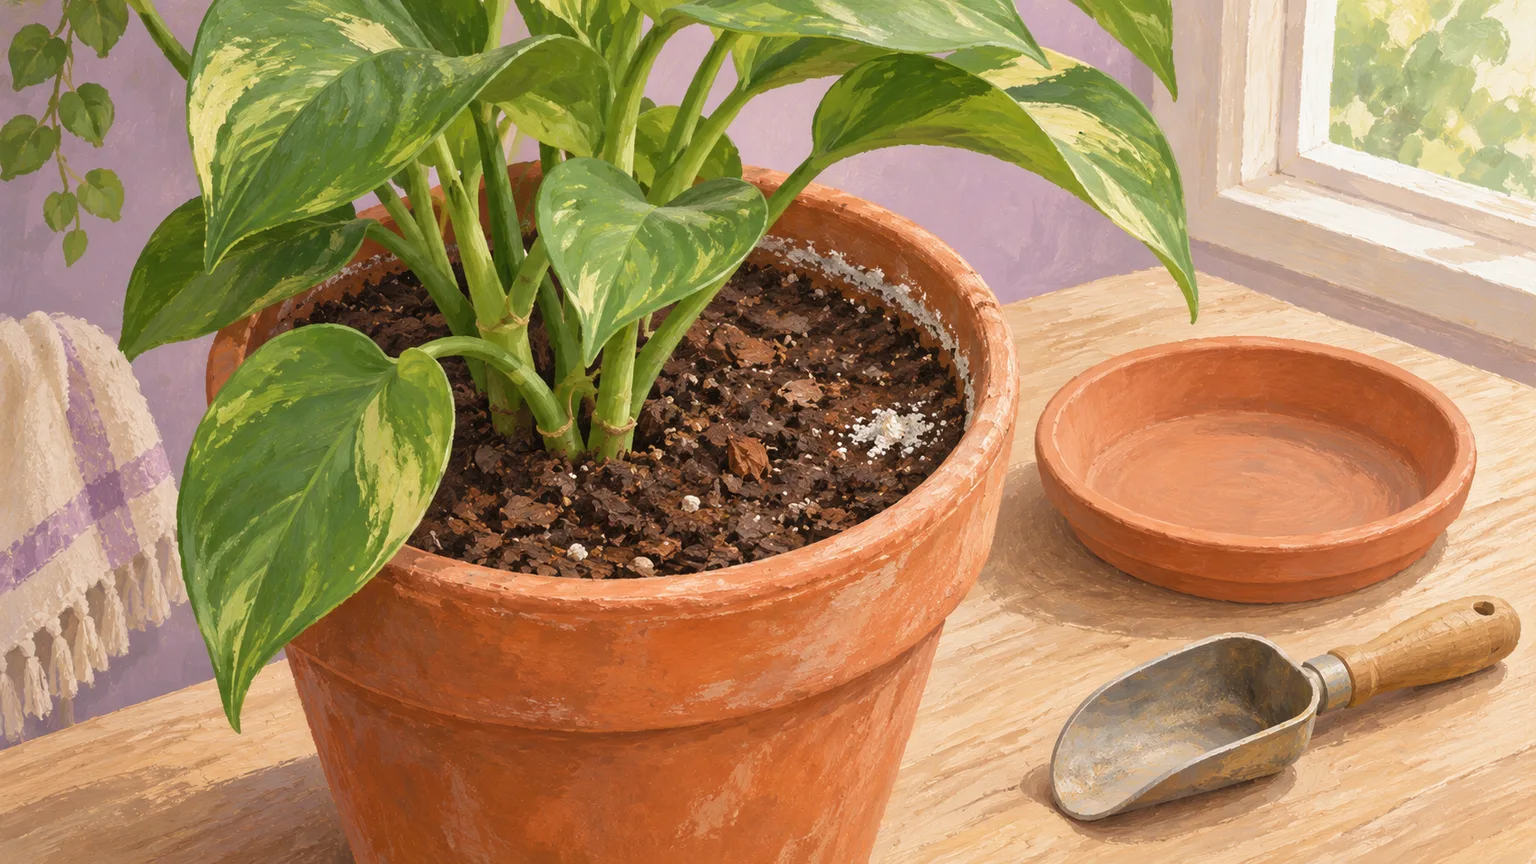
The leaves look much as they did yesterday, but the potting mix suddenly seems dusted with white powder. It is tempting to scrape it off and pour in a treatment. Removing the surface layer can help; choosing the water and care that follow takes a closer look at the pot.
White deposits on potting mix can have different causes, including accumulated salts and fungal growth on a moist surface. Start with the layer itself, the saucer and the way the root ball dries. Colour alone tells you too little to choose a remedy.
A pale crust around the pot edge
Hard water and fertilizers bring dissolved substances into the pot. As water evaporates, some remain at the surface. A pale, sometimes yellowish crust develops; similar marks can appear on clay pot walls and around drainage holes.
Think back to the water and fertilizer you have used, especially if feed was measured by eye or drainage water was left in the saucer and absorbed again. Removing the top layer alone leaves the source of the salts in place.
A heavy salt buildup makes it harder for roots to take up water. Leaf tips may turn brown, leaves may yellow and the plant may wilt. Other problems cause these changes too, so look at moisture and the whole plant alongside the deposit. This guide to fertilizer labels and NPK numbers can help when you review feeding.
When the surface looks fuzzy
A soft white or greyish layer may be fungi growing on organic particles in the mix. A moist surface favours this growth. The plant often remains well, although a thick mat can interfere with water entering the compost.
Notice what stays wet between waterings. Closely crowded pots, water trapped inside a decorative outer pot and old leaves on the compost are useful things to check during the same inspection. Dried fungal growth can become crusty too, so firmness alone is not a reliable way to identify the layer.
Give water a clear way out
Lift the inner pot from its cover, empty trapped water and inspect the drainage holes. This also reveals anything blocking the outlet. A heavy rinse will only make the root ball wetter if water cannot escape freely.
If the compost has stayed wet for a long time and the plant is wilting, or tissue at the stem base has turned dark and soft, investigate roots and drainage first. Removing a white surface layer will not address that problem. Photos of the stem base, whole plant and accessible roots, together with watering and potting-mix details, will help with a closer assessment.
Working on the deposit
Where salt buildup is likely, gently remove the crust with a little of the surface mix, keeping clear of visible roots. A freely draining root ball can be rinsed from above with room-temperature water low in dissolved minerals. Pour in portions and let each drain completely, discarding the runoff. Water treated with a sodium-based household softener is unsuitable for this job.
If water barely passes through, or salt buildup is severe, assess whether fresh, suitable potting mix is needed. Repeatedly soaking a dense, wet root ball is an awkward way to tackle the problem.
For fungal growth confined to the surface, remove the affected upper layer and old plant debris without disturbing the roots. Leave space for air to move between pots and allow the surface to dry as far as suits that plant. A moisture-loving plant still needs the moisture its roots require.
Make the next inspection useful
After cleaning up, take a photo and note the water source, last feeding date and how long the pot stayed moist. A simple watering log or a sheet of paper will do.
At the next inspection, you will have something to compare with the surface and leaves. If a crust returns, revisit salt sources and drainage. If fuzz returns on constantly moist mix, look at why the surface stays wet. This gives each change in care a reason, without working through treatments at random.